Session selection using the RIA website
Summit attendees can manage their sessions entirely from the RIA website in addition to from the mobile app RIA Connect. This tutorial demonstrates how to manage sessions via the RIA website.
Jump to
Accessing the Sessions
From the RIA Summit Dashboard scroll or link to the section detailing how to register for sessions using the RIA website. To the right of the information is a large teal button. Clicking it will open the sessions listing in a new tab. Once you are complete with your session registration, you can always close the session tab and go back to the retailer dashboard.
Filtering Sessions in the Listing
There are a large number of sessions, so you need to become comfortable filtering for those that interest you the most. Fortunately, doing so is rather easy.
You have two primary methods to user filters. First (marked "1" in the image below) use can use the freeform search field. For example, you can chain keywords together to zero in on specific sessions. Keep in mind that this search is explicit, meaning that if you mispell a word or input a query in a different format than what is maintained in the data, then your results may be inaccurate.
The second method (marked "2" in the image below) is simply to apply column filters. Again, these can be chained together, allowing you to zero in quickly on the sessions that interest you most.
Finally, you can increase or decrease the number of sessions displayed with or without any filters applied (marked "3" in the image below).
Reviewing & Registering
Applying filters narrows your search results, allowing you to quickly identify sessions that interest you. The results present important details that you should consider when registering. To demonstrate, let's use an example.
In the image below, we've applied 3 filters (bordered in red, marked "1"): 1) the date, 2) the brand and 3) the event type. The results present only a few of the 900+ possible sessions offered at the Summit.
Important details to review include the time of the event (marked "2" in the image) and the event description (marked "3" in the image). Please note that not every event will include a description.
Once everything looks good, click "Register" and you'll be presented with a quick form with which you use to register.
Accessing events that you have registered for
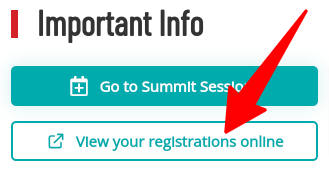
From either the session listing or from the Summit dashboard, you can quickly access sessions for which you are registered. Please note, we strongly encourage you to use RIA Connect as your registrations display in a nicer calendar format directly on your phone.
Viewing your registrations
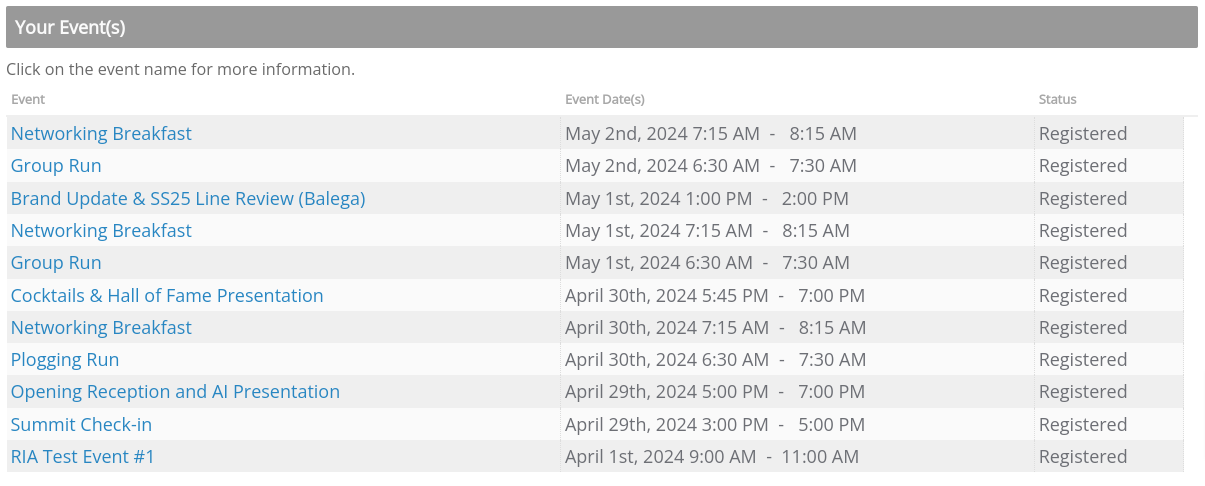
Once you click through to view your registrations, you'll be taken to your member dashboard. In addition to other details shown, you will see a section dedicated to events for which you are registered, both past and present.
In this listing will be all of the sessions for which you are registered for the RIA Summit. Again, not as useful as a calendar display. which is why we highly recommend using RIA Connect to view your schedule.
Ok, that's a wrap. If you've got this far then you are probably super comfortable with session management using the RIA website.


